The CRM enables you to set up personalized voicemail messages both for individual users and user groups.
Additionally, you can set up a schedule for when the voicemail messages will play, or even set up multiple voicemail messages to be played at different time intervals.
If you don't upload a personalized voicemail recording, then the Dialer provides a generic default message ("Leave a message after the beep").
Add a Voicemail Recording for a User or Group
Here are the steps to add a voicemail recording for a user:
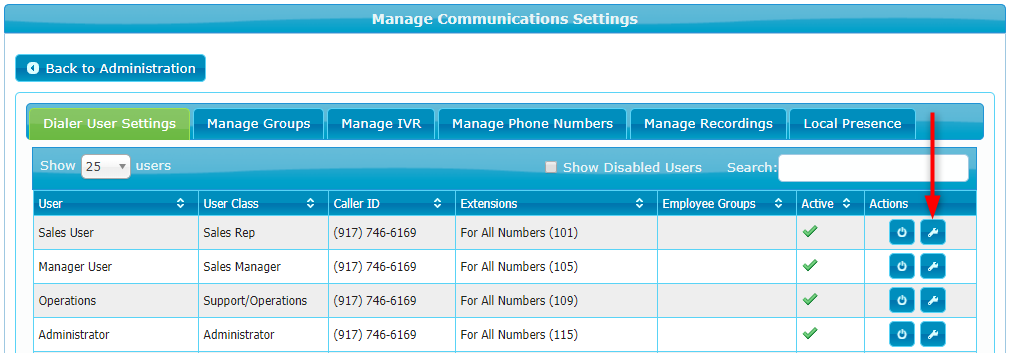
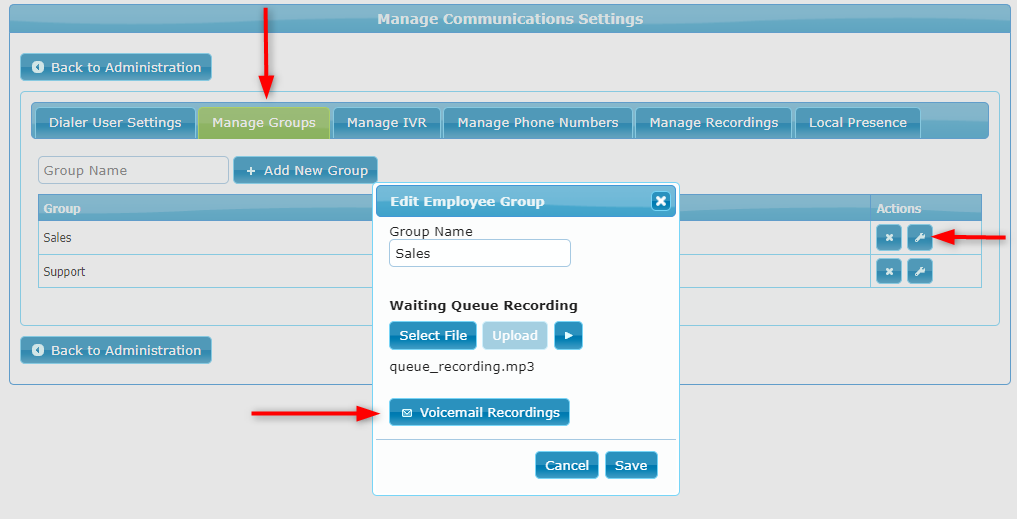
1. Go to Manage > Administration > Dialer > Dialer User Settings, locate the user you would like to edit, and click on the user's wrench icon:
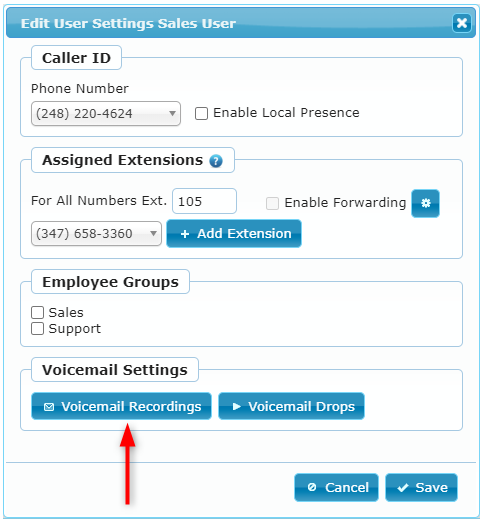
2. In the popup which appears, click Voicemail Recordings:
3. In the next window, use the Add Recording button to upload one or more voicemail recordings:
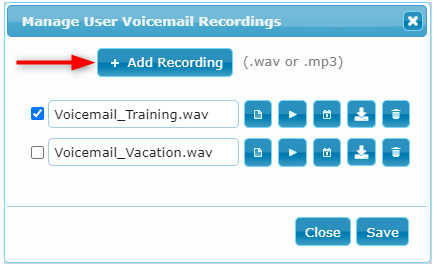
Note: The five buttons next to each uploaded recording allow you to select a different recording or play, schedule, download, or delete the uploaded recording.
Adding and managing the voicemail recordings for user groups works in the same way as for individual users, except you will need to start from the Manage Groups tab, and then edit the appropriate user group:
Enabling Voicemail Messages
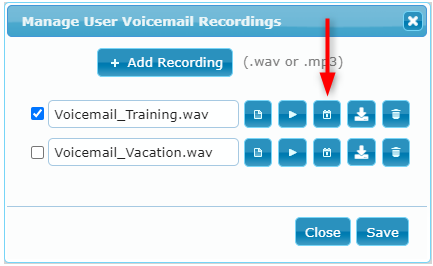
To turn on your voicemail simply click select the checkbox for the appropriate voicemail recording and then select the voicemail schedule using the Schedule button:
A popup window now appears where you can select the times when the voicemail will be activated:
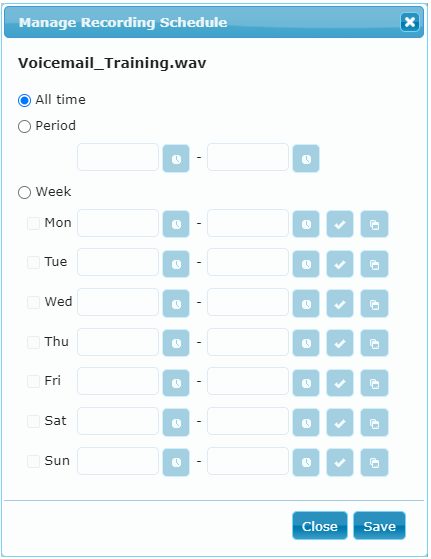
After you've selected the voicemail time intervals save your changes and close all of the popup windows.
You can also enable multiple voicemails so long as their time intervals do not overlap.
To enable multiple voicemails simply select the checkboxes on the appropriate voicemail recordings and update the voicemail schedules as needed:
