The Contacts tab in your Power Dialer allows you to easily add new contacts or manage existing ones:
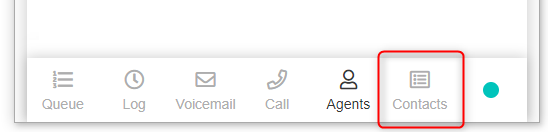
Within the Contacts tab, there are four main buttons or sections that you can open:
- All—displays a list of all your contacts.
- Users—displays a list of all CRM users.
- Personal—displays your personal contacts.
- Contact Groups—displays only the contacts that belong to the selected group.
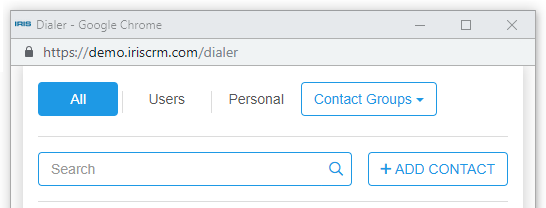
Use the Search box to find a contact quickly.
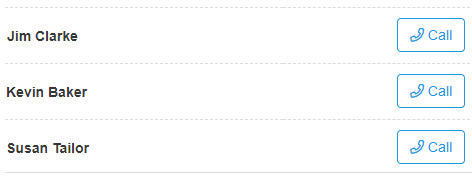
As you start typing the contact's name in the Search box the Dialer automatically filters the contacts and shows the matching results:

To call a contact simply click on the contact’s phone number and the Dialer will connect you immediately.
Use the Edit and Delete buttons shown next to the phone numbers to update or to delete the contact.
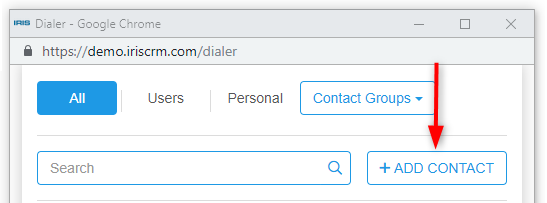
Creating a New Contact
To create a new contact click on the Add Contact button:
In the popup which appears enter your contact's information and click Save:
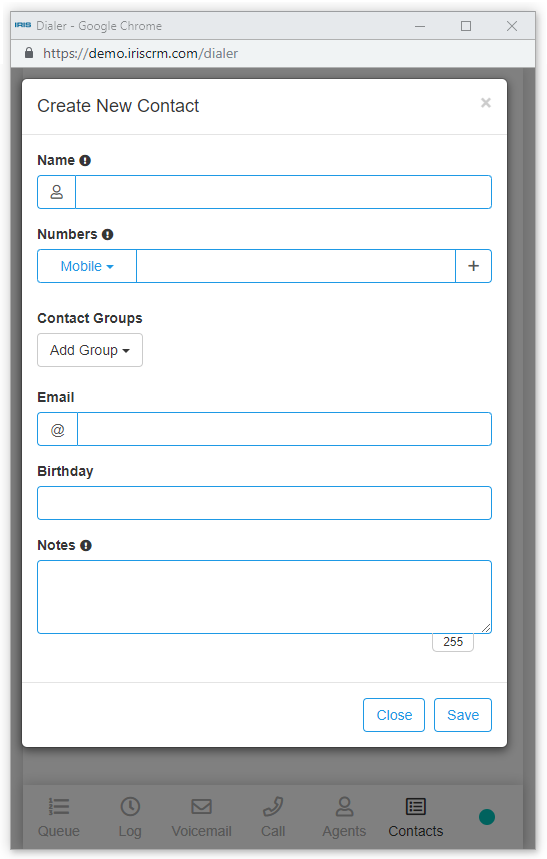
The phone numbers that you enter can be saved using the default labels (such as Mobile, Office, or Home).
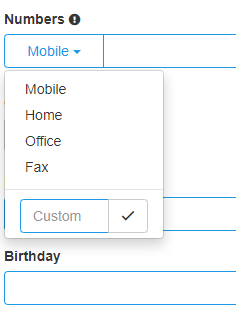
If needed you can also create custom labels in order to organize your contacts more efficiently.
To create a custom label, click on the drop-down menu before the phone number field and enter your new custom label at the bottom of the picklist:
To share your new contact with one or more groups, select and add the group(s) using the Add Group drop-down:

CRM Agents
A listing of the CRM Agents is available on the Agents tab:
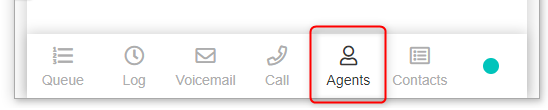
To call any agent click on the Call button: