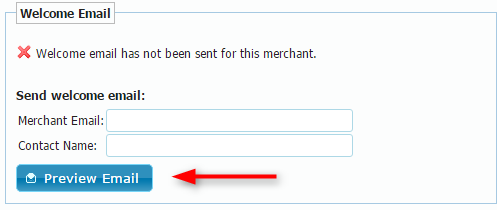
The Welcome Letter is an email and attachment that can be sent to merchants after they are added to your CRM.
There are three ways to send the Welcome Letter:
1. From the lead when using the Link action to create a new merchant account:

2. From the Manage Merchant page for the account:

3. Automatically, after approval from an integrated processor.
Editing the Welcome Letter Email Template
To edit the Welcome Letter email template, go to Manage > Administration > Email > Email Templates, click on the System Emails tab and scroll down to the template named Welcome Email.
There will be two versions of the template, one for when the email is sent by the Manual method, and one when it is sent by the Automated method:

To edit either of the two templates click on the Edit button and your template will open up in edit mode:

You can use DBA and Merchant ID placeholders as shown in the above template example. These placeholders will be replaced with real DBA and Merchant ID values once your welcome email is sent.
Once you are finished editing the template click Save and your changes will be saved.
Editing the Welcome Letter Attachment
Next, you will also need to edit the Welcome Letter attachment. To edit the attachment for the Welcome Letter email, go to Manage > Administration > Users & Groups > Manage Groups, expand the desired group, and click Download Original:

Now you can edit the template using Microsoft Word or a similar program. When finished, save your document and click the Upload New Document button in order to replace the original file with the new version.
Note that the file must stay in the RTF format and all %%keywords%% must not be changed since they will otherwise not be auto-filled properly when the file attachment is generated to go with the email.