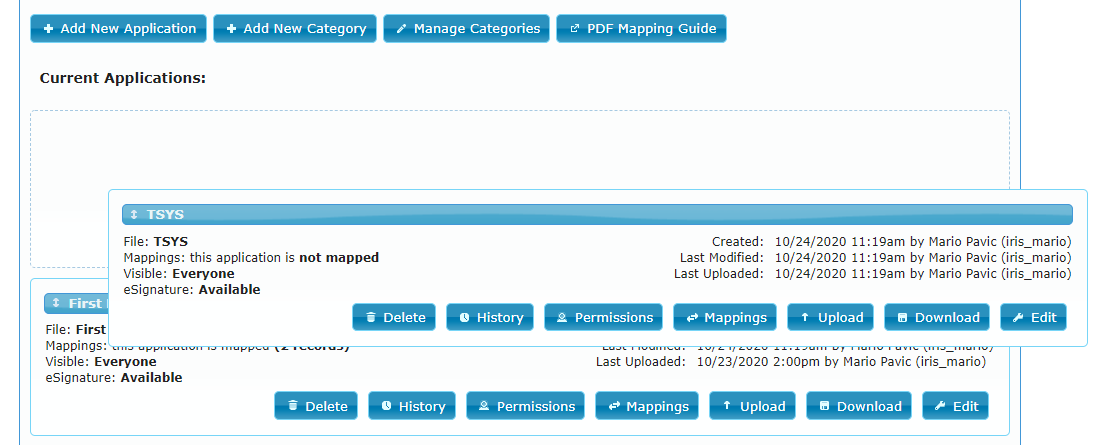
Your CRM provides a central place for saving your E-Signature applications and Generic Forms in PDF format.
The PDF documents can also be mapped to the lead so that agents can generate PDF files that are pre-filled with the client's information, and send them to clients for E-Signature or wet signature.
Adding a New Application
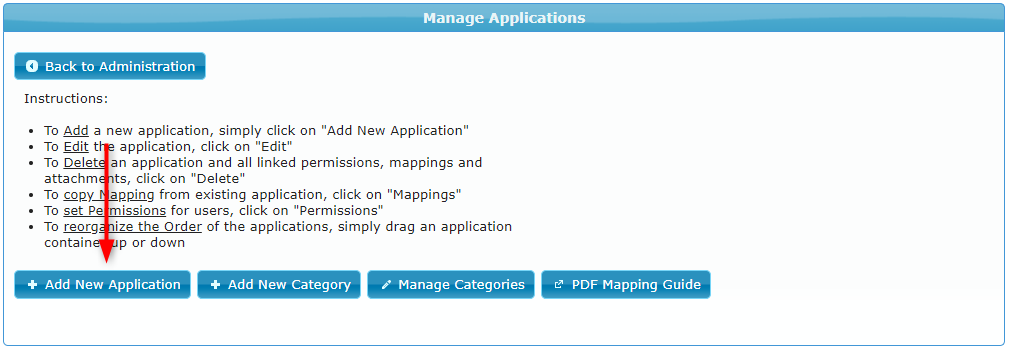
To create a new application navigate to Manage > Administration > E-Signature > Import PDFs and click the Add New Application button:
A popup window now appears where you can choose to create a Generic Form or an E-Signature Application:
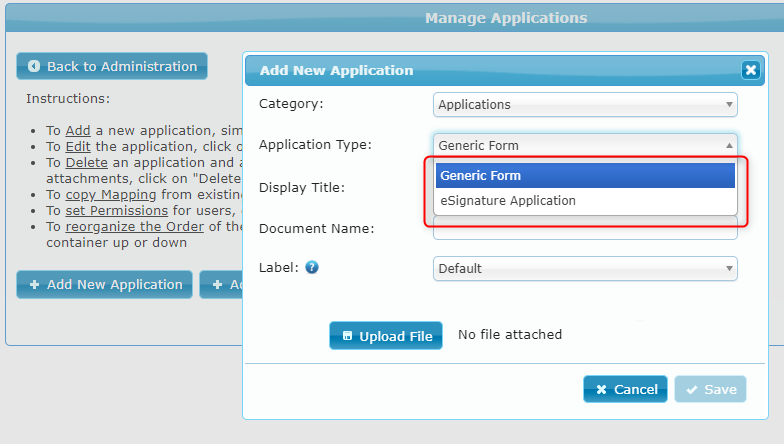
E-Signature Applications are PDF files that are mapped to the lead and sent to clients for E-Signature in Adobe E-Sign. More info: Sending Agreements For E-Signature
Generic Forms are PDF files that agents can create from the lead's Attachment tab. Generic forms can also be mapped to the lead and populated with the lead's information (for example to print an agreement for wet signature).
Adding An E-Signature Application
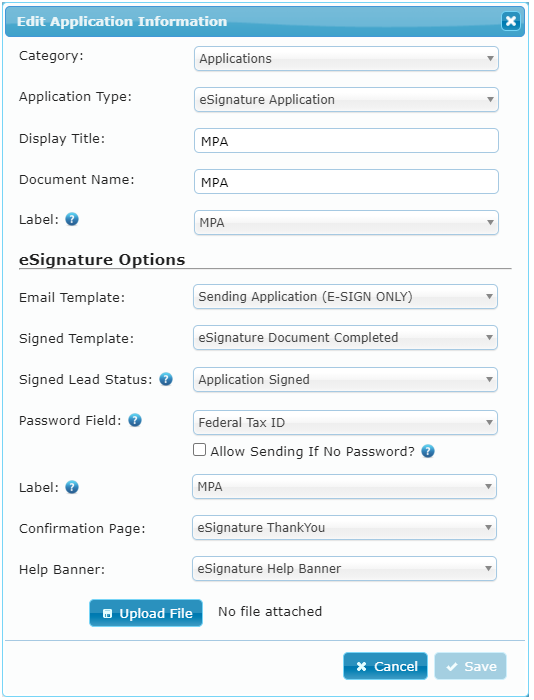
To add an E-Signature application simply select eSignature Application as the Application Type, edit the form's settings, select the PDF file to upload, and save your changes:
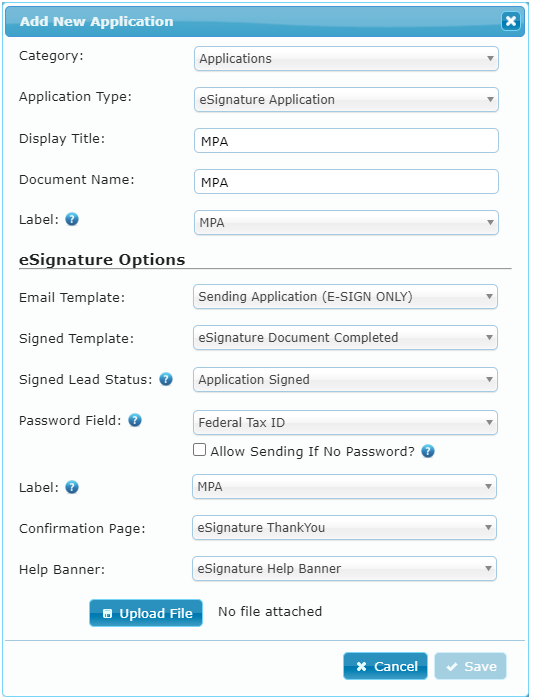
Here are the explanations of the E-Signature settings:
- Category: Select the desired category that the application will appear in on the lead.
- Display Title: This is the title that appears in the form selection dropdown on the lead.
- Document Name: The PDF files generated from the lead will be saved using this name.
- Label: This is the CRM label that will be applied to the PDF document after it is generated on the E-Signature tab on the lead.
- Email Template: This is the email template that will launch automatically when an E-Signature application is created. The email template is customizable and contains the link to the E-Signature application.
- Signed Template: This is the email template that your client will receive automatically after they've signed the application.
- Signed Lead Status: When this document is signed, the lead's status will be updated to the selected status.
- Password Field: The PDF created after this document is e-signed will require a password to open unless "None" is selected here. The password will be the last 4 characters of the selected field's value for the lead where the e-sign document was created. More info: Send Secure PDF In E-Signature Confirmation Email
- Label: This label will be applied to e-signed documents in the CRM.
- Confirmation Page: This page is displayed to the client after they e-sign the application. The page can be easily customized according to your needs. More Info: Confirmation Pages
- Help Banner: This is a customizable banner that can be displayed on the E-Signature page to provide the client with any assistance they may need to sign the application. More info: Help Banners
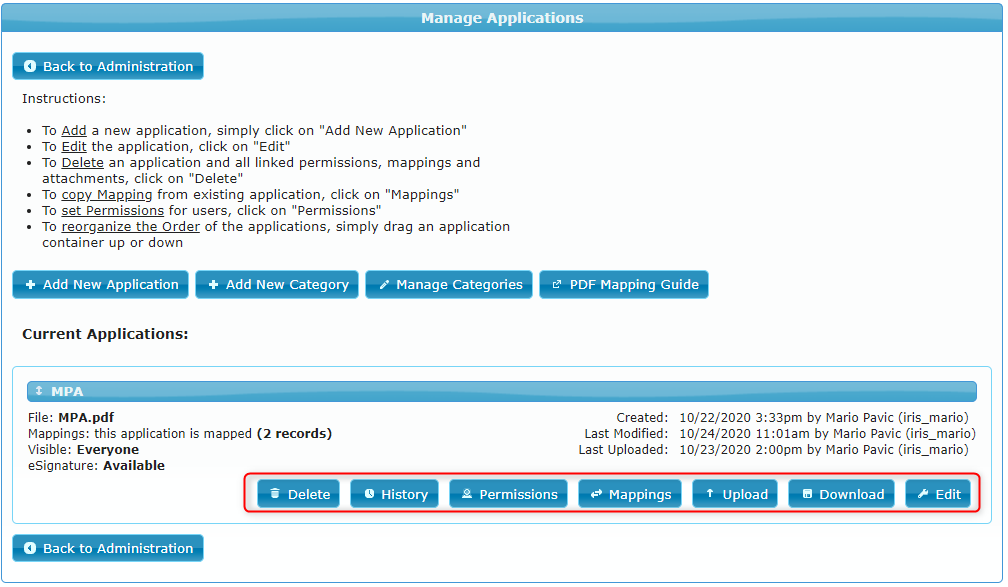
After you save the application it is shown on the Manage Applications page, from where you can proceed to create application mappings or manage other application settings:
Adding A Generic Form
To add a generic form simply select Generic Form as the Application Type, edit the form's settings, select the PDF file to upload, and save your changes:
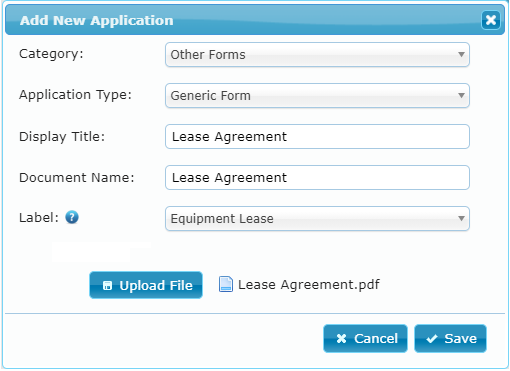
Here are the explanations of the form settings:
- Category: Select the desired category that the application will appear in on the lead.
- Display Title: This is the title that appears in the form selection dropdown on the lead.
- Document Name: The PDF files generated from the lead will be saved using this name.
- Label: This is the CRM label that will be applied to the PDF document after it is generated on the lead.
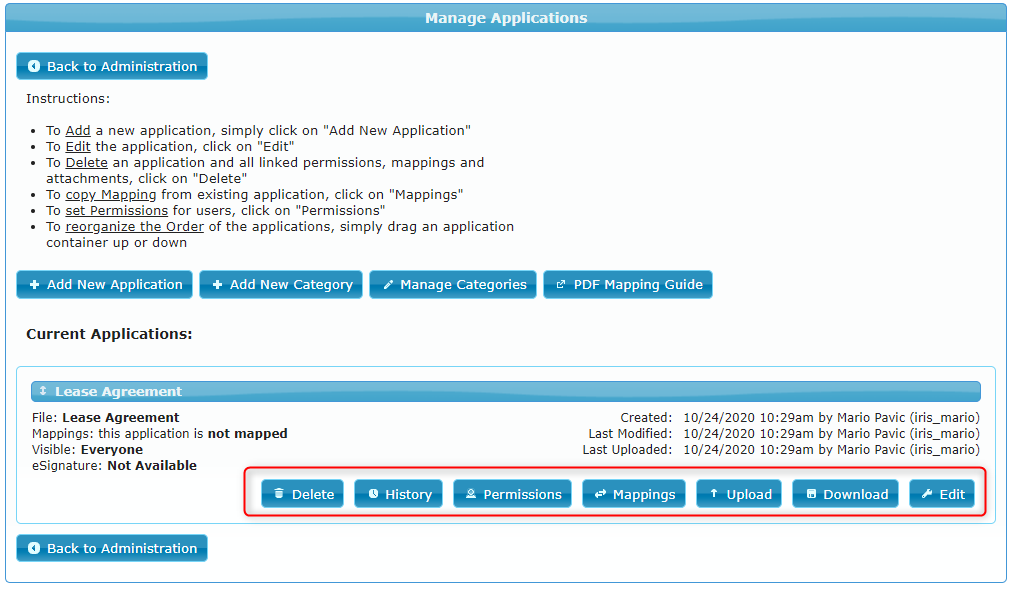
After you save the application it is shown on the Manage Applications page, from where you can proceed to create application mappings or manage other application settings:
Managing Application Categories
To organize your applications more efficiently you can add your own application categories and manage existing ones using the Add New Category and Manage Categories buttons on the Manage Applications page:
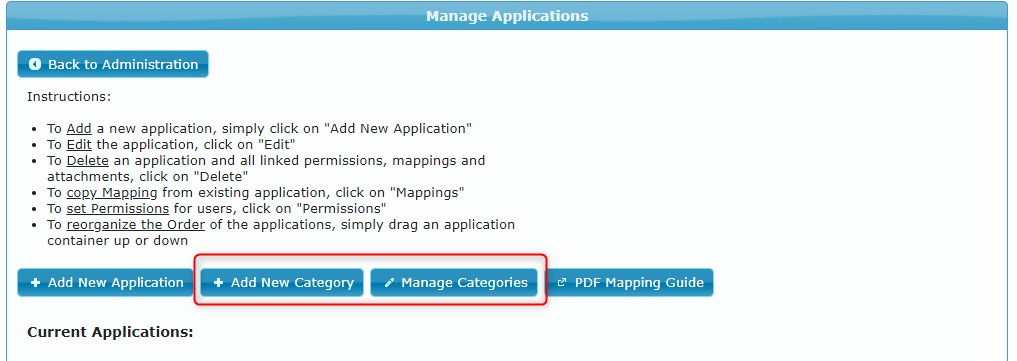
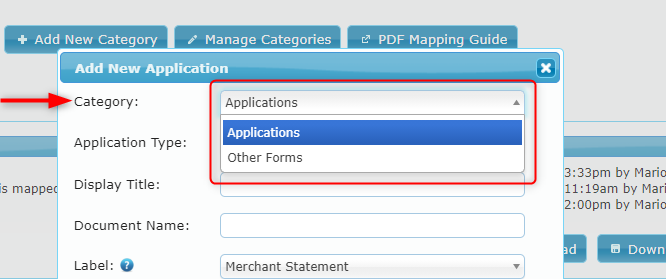
The categories that you create can be selected in the Category dropdown when you're adding a new application or editing an existing one:
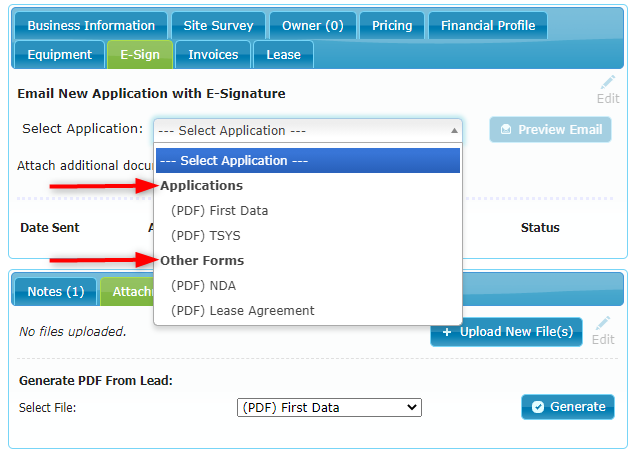
On the lead page, the application selection dropdown shows your applications grouped by category:
Deleting an Application
To delete an application click the Delete button on it:

Confirm the deletion by clicking OK and the application will be deleted:

Viewing the Application History
To view the history of application edits click the History button on the application:

A popup window now appears showing the application's history:

You can use the Search box in the popup to look for specific users or events.
Setting Application Permissions
To manage the access rights for an application click the Permissions button:

A popup window now opens where you can select groups, user classes, or individual users who will have access to the application:
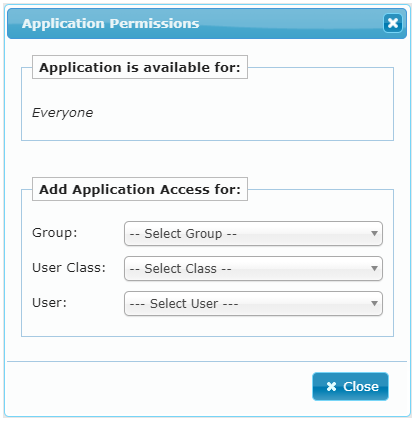
If no selections have been made in the permissions popup, then the application will be available to all users.
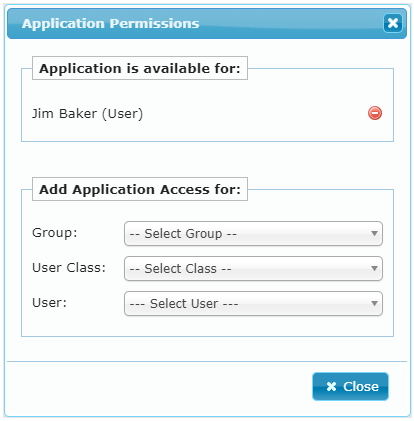
Assigned permissions are shown in the top part of the permissions popup, and if needed, the permissions can be removed by clicking on the delete icon:
Manage Application Mappings
To manage the application mappings click on the Mappings button:

A popup now appears showing the number of mapped fields, including the Edit link which opens the mapping page for the application:

More info: PDF Mappings
Using the popup you can also copy the mappings automatically from another application (which has the same PDF fields):

Uploading and Downloading the PDF Application
Use the Upload and Download buttons to upload new updated versions of the PDF application, or to download the current version in order to preview or make changes in it:

Edit the Application Settings
To edit the application settings click on the Edit button:

The Edit Application Information popup now appears where you can modify the application settings as needed:
When finished, click Save and the application settings will be updated:
Reordering Applications
To change the order in which your applications are shown on the Manage Lead Applications page simply drag and drop an application into its new position on the page:
