Your E-Sign applications can be configured to allow clients to upload supporting files on the E-Signature page.
The supporting files may be appended to the E-Sign document, attached to your lead, or both (depending on your file upload settings).
Enabling an E-Sign application for file uploads is accomplished by adding special attachment fields in the PDF document.
The attachment fields need to be named using the following naming example:
file-name_es_:signer1:attachment:label("file description")
Important: Special characters (such as <, >, etc) are not allowed in the file name or the file description part of the PDF field name. It is recommended to use only letters, numbers, spaces, dashes, and underscores.
In case your application supports multiple signers, you can also assign attachment fields to different signers, by replacing the "signer1" part of the field name with "signer2, "signer3", etc.
For example, here is a field name that allows the second signer to upload a file before signing the document:
file-name_es_:signer2:attachment:label("file description")
Attachment Fields Example
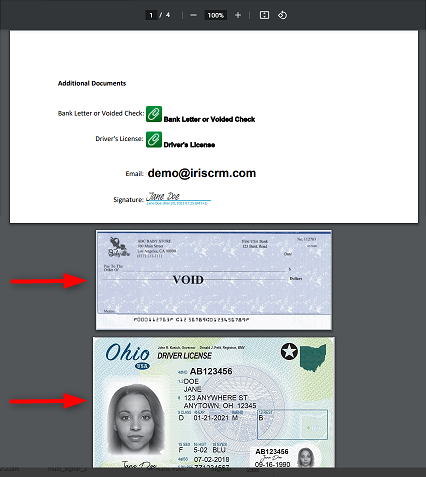
Below is an example of a PDF application that has been set up with two attachment fields to allow the client to upload a bank letter/voided check and the driver's license:
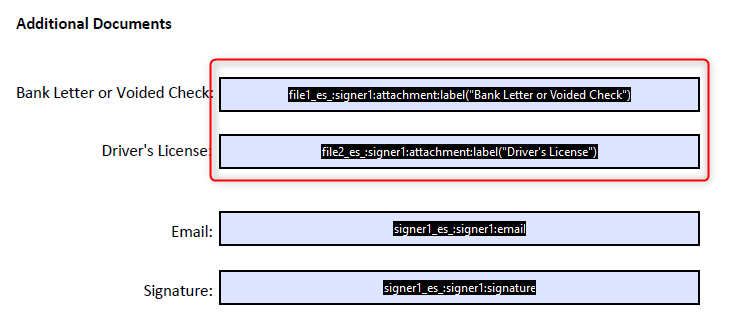
If needed, you can make the attachment fields required, so that the client will be required to upload the files before submitting the application.
To make an attachment field required, simply add the asterisk character (*) at the beginning of the field name, for example:
*file1_es_:signer1:attachment:label("Driver's License")
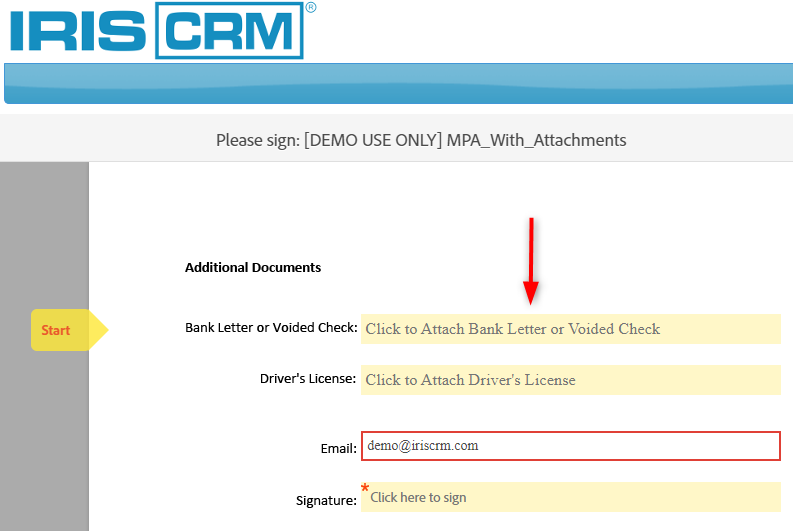
Uploading Files On The E-Sign Page
Once the E-Sign application is generated, the attachment fields can be clicked on to upload the supporting files:
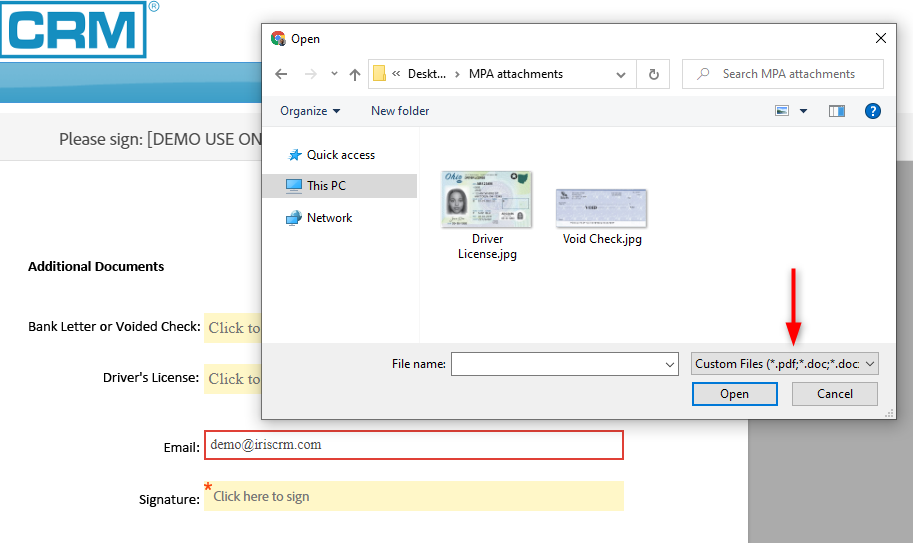
Clients may upload different types of image files, as well as PDF or MS Word files.
To see the complete list of supported file formats, click on the Custom Files dropdown in the file selection dialog:
Once the client selects the files, they will be displayed in the attachment fields:

After the client submits the application, the selected documents will be appended to the main PDF file:
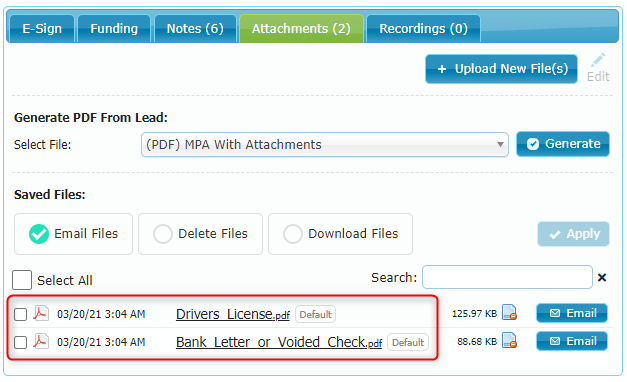
The uploaded files will also be saved in the lead attachments:
Managing File Upload Options
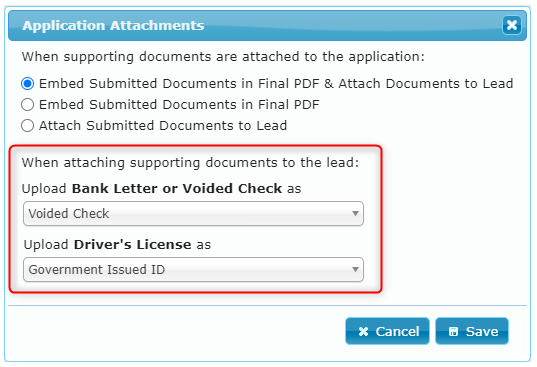
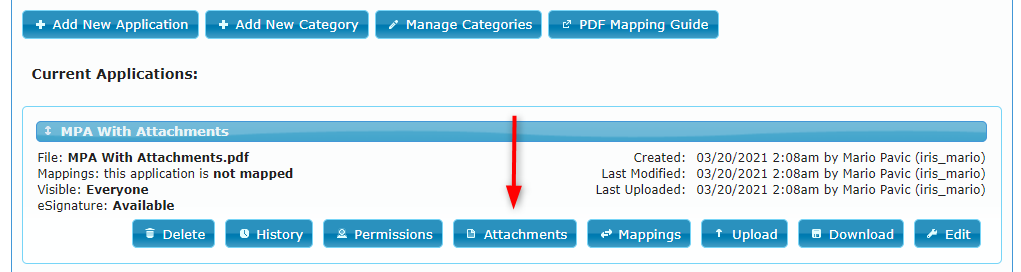
To manage the file upload settings, navigate to Manage > Administration > E-Signature > Import PDFs and click the Attachments button on the E-Sign application that you wish to edit:
A popup window will now appear where you can select the file upload options, as shown in the below screenshot:

If you enable the files to be saved on your lead, you can also select the document labels that will be automatically assigned to uploaded documents: