Your CRM enables you to accept credit card payments from your clients using Authorize.Net.
More Info: Enabling Authorize.Net For Credit Card Payments
With the Authorize.Net integration enabled on your site, you can start charging your clients' credit cards right from the lead page. You can also set up recurring payments.
More Info: Lead Payments
After you enter a client's credit card information on the lead page and submit the transaction, a new Credit Card Profile is automatically created and saved in Authorize.Net.
A Credit Card Profile is typically created once for each client, and it is set up with one or more Payment Profiles (with each payment profile storing the information for one credit card.)
After a new Credit Card Profile is created in Authorize.Net, the profile's ID is also automatically saved in your CRM, where it can be used to submit future or recurring transactions (without having to enter the credit card information again).
Credit Card Profiles can also be created manually from the CRM administration page.
Credit Card Profile Permissions
In order to use or manage the credit card profiles, the following permissions need to be enabled for the appropriate user classes:

Adding A Credit Card Profile
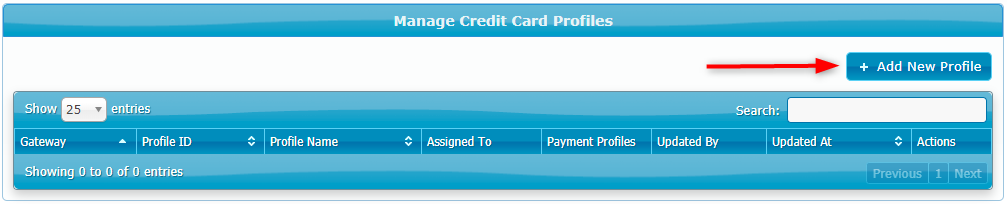
To add a new Credit Card Profile, navigate to Manage > Administration > Payments & Invoices > Credit Card Profiles and click Add New Profile:
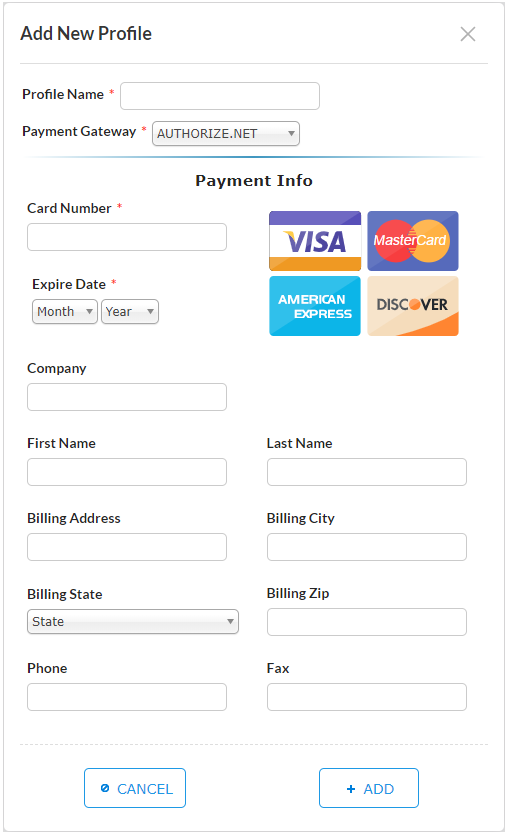
A popup window will appear as shown in the below screenshot.
Enter the required information for the new profile and click Add:
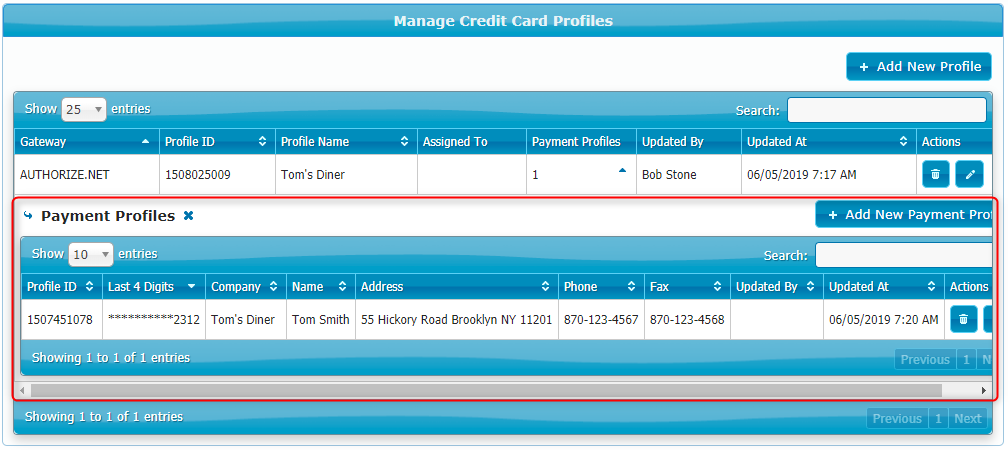
A new Credit Card Profile is now created with a single Payment Profile.
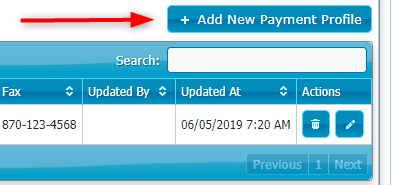
To view or edit the Payment Profile(s) click on the triangle icon:
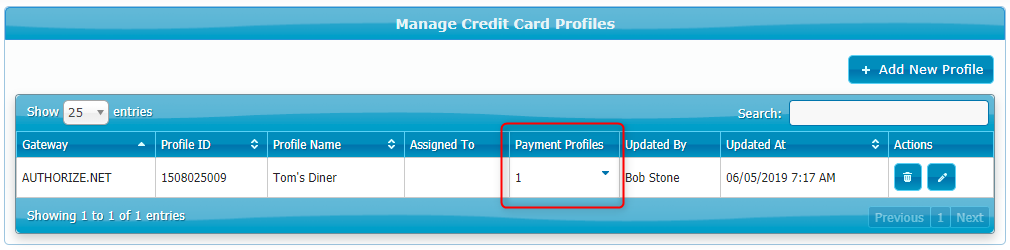
The Payment Profile(s) are now shown in an inline report as shown in this screenshot:
To add a new Payment Profile to the current Credit Card Profile, click Add New Payment Profile and fill in the information on the new credit card: