The CRM's Calendar Integration enables you to sync your Google Calendar or the Outlook For Office 365 Calendar with the CRM Calendar.
Once the sync is enabled, your Lead’s important contact information will automatically transfer from the CRM Calendar to the synced Google/Outlook Calendar whenever you create a new appointment or a task in the CRM.
The details which the CRM syncs with the Google/Outlook Calendar include who the meeting is with, the meeting address, the contact's phone number and a direct link to the CRM Lead.
Additionally, your sales reps will be able to add their meeting notes right from the Google/Outlook Calendar mobile app. Any notes entered via the mobile app will appear on the Lead automatically as a new lead Note.
In this article, we use Google Calendar as an example for illustrating the sync and calendar management procedures however the same steps also apply to the Outlook For Office 365 Calendar Integration (unless noted otherwise in the article).
Calendar Event Updates
When you create a new Lead appointment in the CRM, a new event will also be created in your synced Google/Outlook Calendar.
The new event will automatically populate with the Lead’s address, contact person, phone, and URL.
Here is an example of an event that has been automatically created in the Google Calendar:
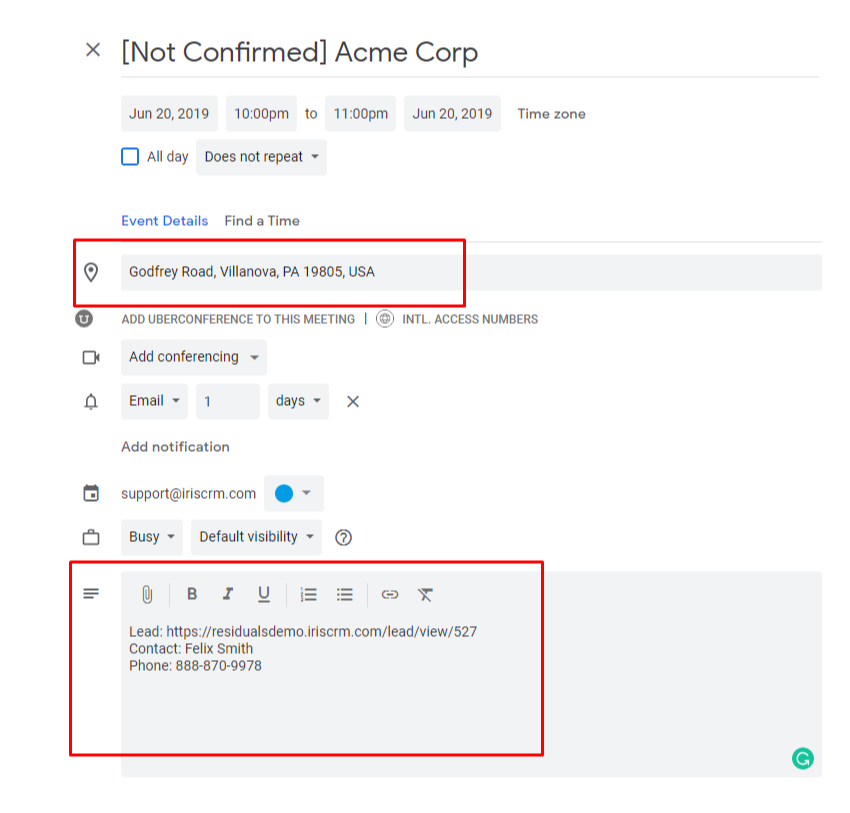
Note that there is a special line in the Description box that reads "^^^Enter Meeting Notes Above^^^":
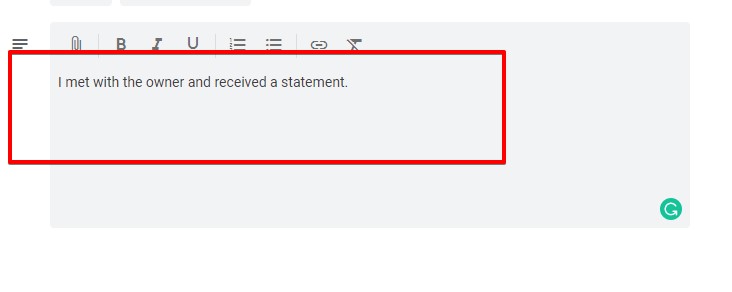
Once you type your comments above the line shown above and then save the event, a new Note will be automatically added to the CRM Lead.
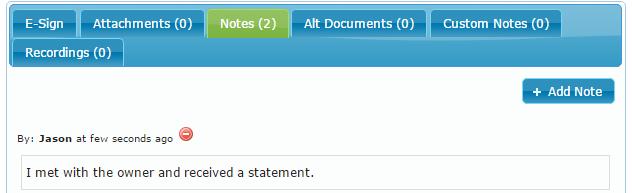
Here is how the note from the above example will appear on the Lead:
When an appointment is changed from Not Confirmed to Confirmed within a Lead, the [Not Confirmed] text in your synced calendar's event name will also change automatically to [Confirmed]:

If you need to reschedule an appointment you can do so right on the synced calendar. In that case the corresponding appointment in the CRM Calendar will also be automatically rescheduled.
Quick Steps To Sync A Calendar
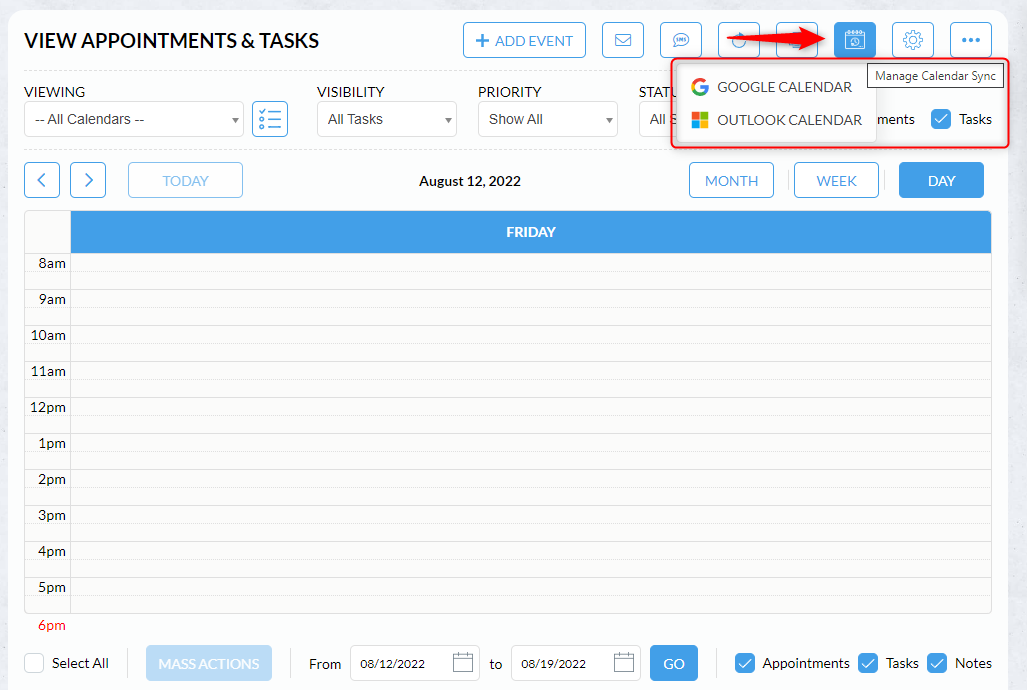
To set up your CRM appointments and tasks to sync with Google Calendar, open your CRM Calendar, click on the Manage Sync Calendar button, then choose Google Calendar:
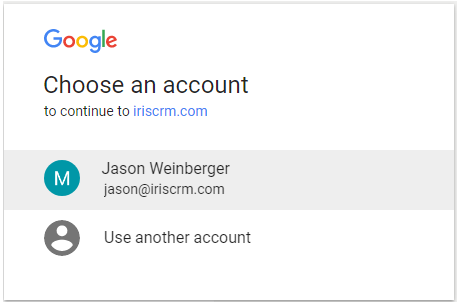
You will be redirected to the Google authentication page where you can select the account that you would like to sync:
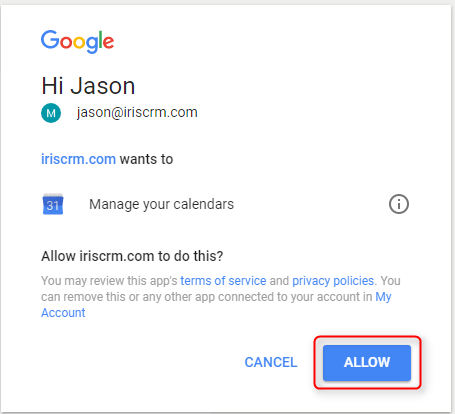
After selecting your Google account, another confirmation window will open asking you to allow the CRM to manage your Google Calendar. Click Allow:
You will now be redirected to your CRM Calendar settings page in order to finish configuring your sync settings:
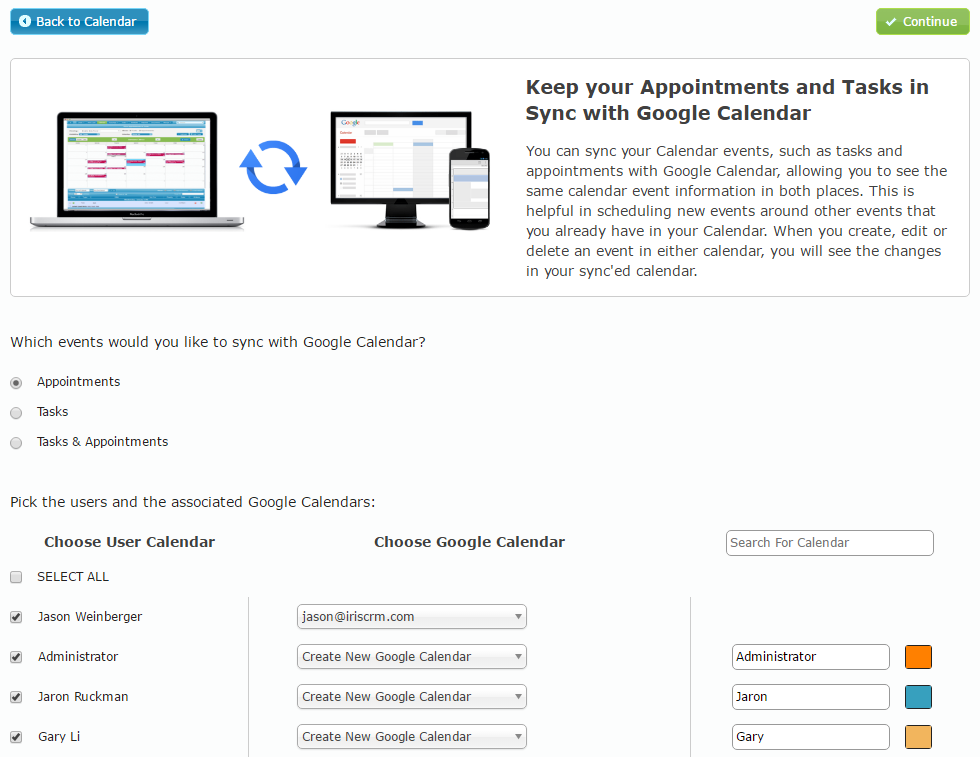
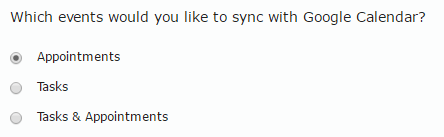
Firstly, select whether to sync Appointments, Tasks, or both:
Next, pick the users and the associated Google Calendars which will be synchronized. Each Google Calendar drop-down contains a list of all of your Google Calendars:
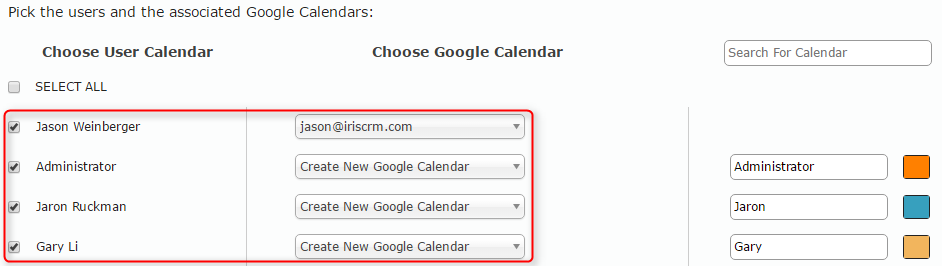
If needed, you can also create a new Google Calendar for a specific user automatically by selecting the Create New Google Calendar option and entering the name for the new calendar:

To locate specific users faster, start typing their name in the user search box and the user list will automatically refresh and show the top matches:
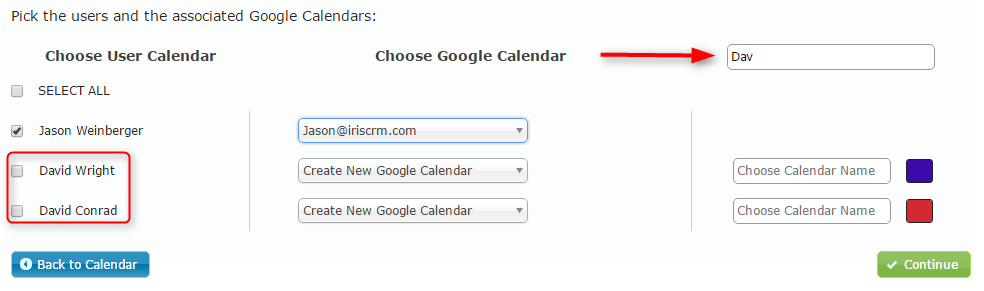
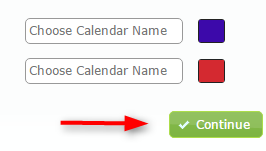
To change the name of the calendar from the default option, enter the desired name in the Choose Calendar Name field.

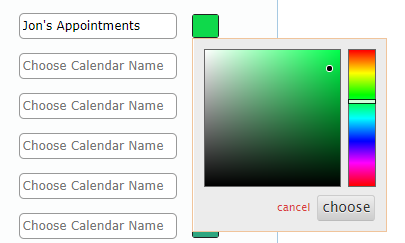
To change the calendar's color, click on the panel to the right of the Calendar Name (not supported with Outlook Calendar). Use the sliders on the color picker widget to customize the calendar's new color.
When you're done, click "Choose":
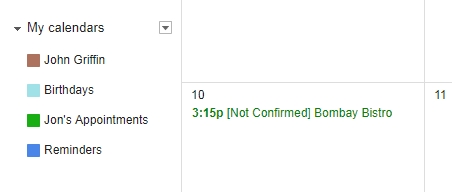
The user colors and names you selected will be shown in the side panel in Google Calendar (after the sync procedure is completed):
Once you have configured all of your sync settings click on the Continue button:
The syncing procedure will now begin and a progress page will open:
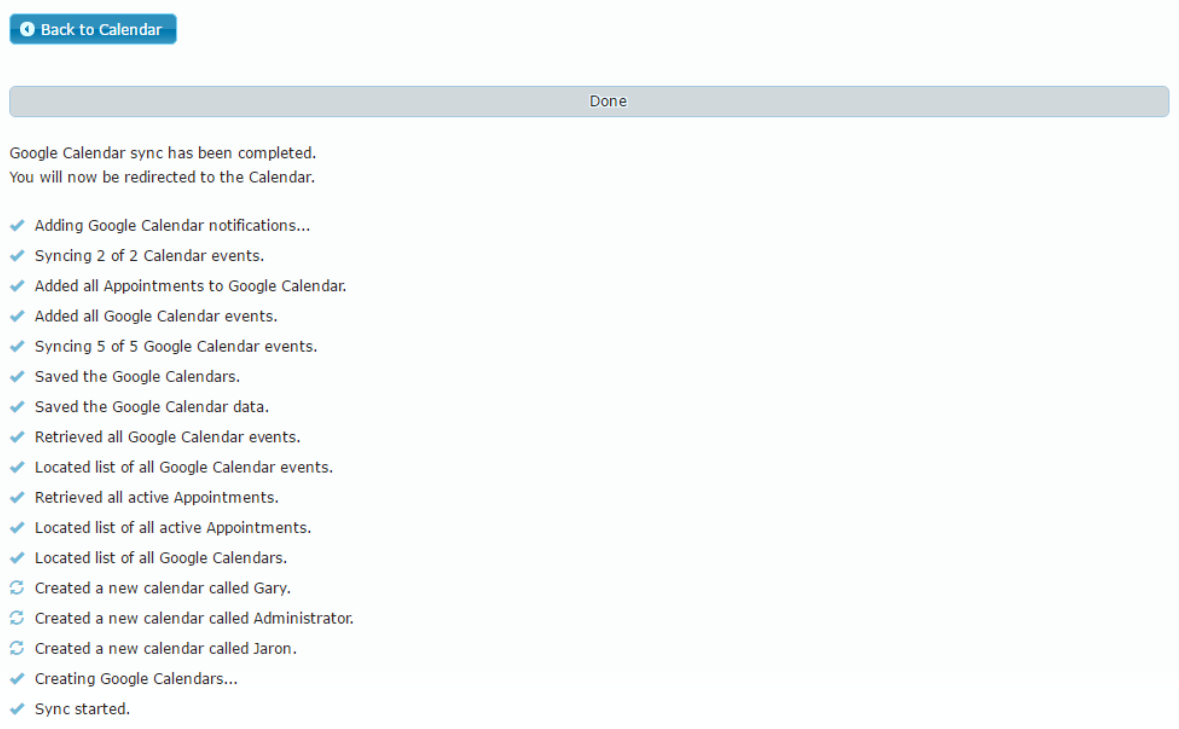
If an error is encountered during the setup, the progress log will display an appropriate error message.
Once the sync is complete, the progress bar will reach 100% and all of the tasks will be marked as successfully synced.
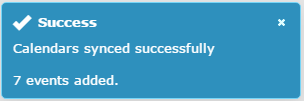
You will then be redirected back to the Calendar page and a pop-up message will appear in the top-right corner of the page indicating a successful sync:
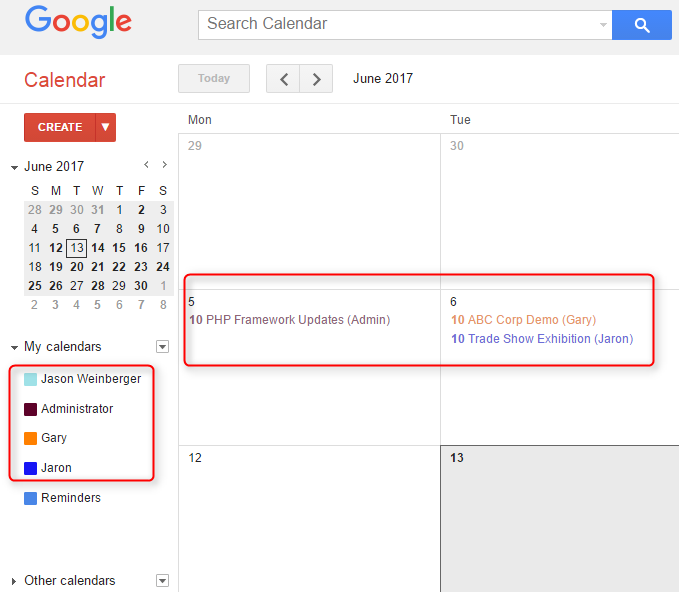
You can now go to your Google Calendar and verify that the sync has been performed successfully and that all of your existing CRM Calendar events appear in the Calendar correctly.
Also, if you chose to create any new Calendars during the setup process these Calendars will appear in your list of active Google Calendars:
Finally, you may also verify that your existing Google Calendar events are now showing up in your CRM Calendar. Note that all day and repeat events will not sync to the CRM.
At this point, your Google Calendar has been synchronized with your CRM Calendar.
Whenever you (or your users) create a new appointment either in the CRM Calendar or in the Google Calendar, the event will appear on both Calendars automatically.
Manage Google Calendar Sync
Once you have set up a Calendar sync, the Sync Calendar button will change to become the Manage Sync button on the Calendar page:

The Manage Sync button opens the sync settings page where you can now un-sync previously synchronized calendars or sync new additional calendars:
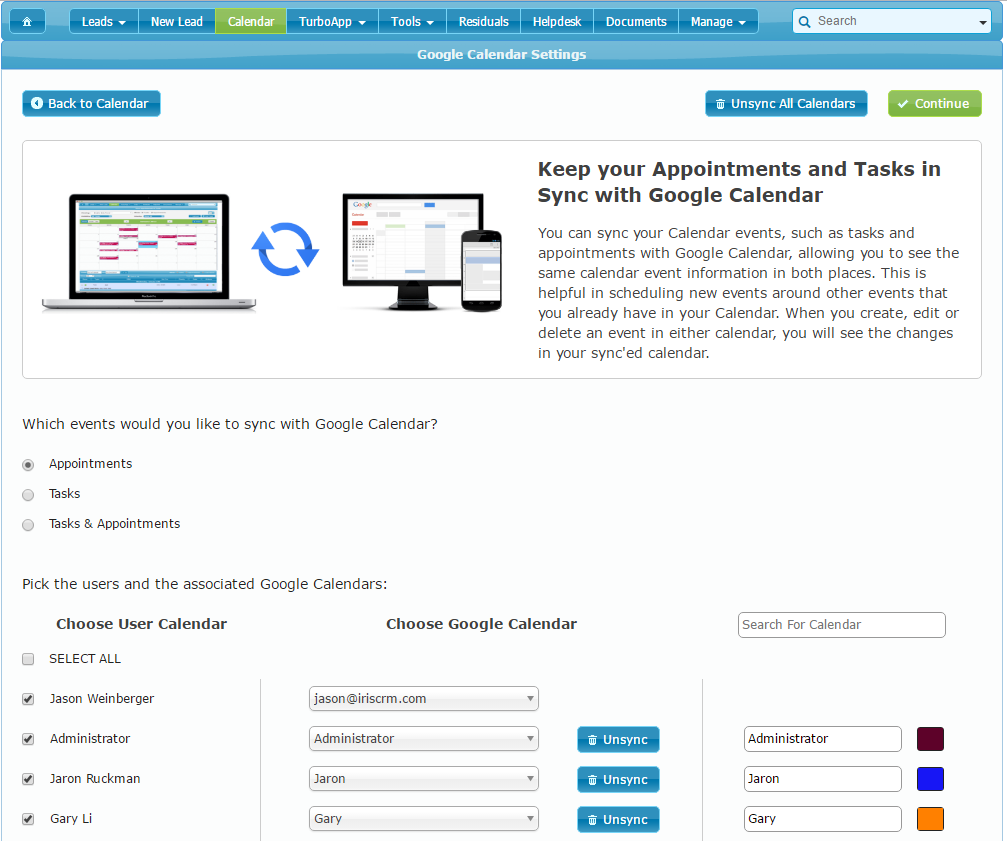
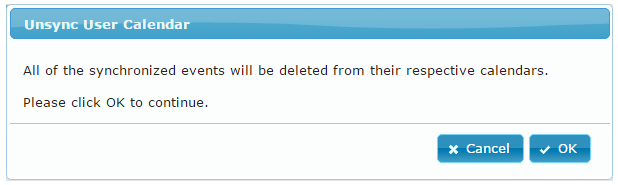
To un-sync a specific calendar, click the Unsync button for that user calendar. This action will delete all of the synchronized events from their respective calendars and disable further synchronization for new events:

After you’ve clicked the Unsync button a confirmation prompt will appear. If you wish to proceed, click OK and the sync will be removed:
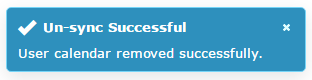
Finally, a success confirmation will display in the top-right corner of your Calendar page:
To un-sync all calendars, click on the Unsync All Calendars button in the top right corner of the sync settings page:

You will receive a similar confirmation prompt as when removing a sync for individual calendars.
To proceed, click OK and after all of the synchronized calendars have been removed a success message will be shown:
